


How to Inflate Boat Tubes Without Wrecking Them
29 September 2026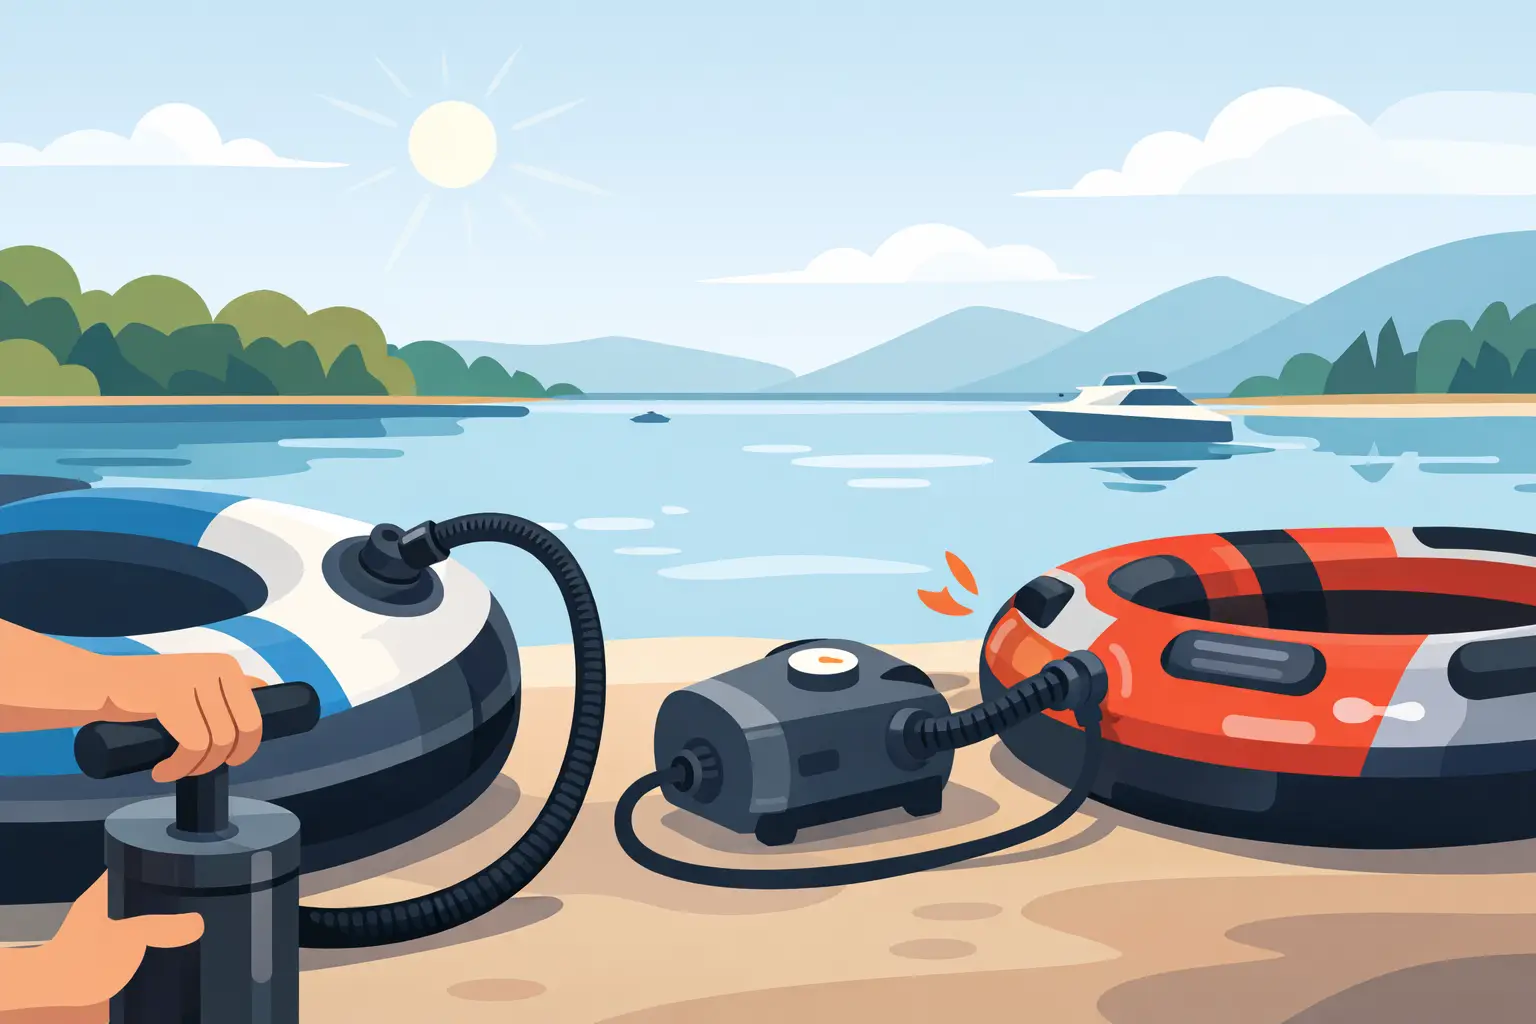
A flat tow tube at the boat ramp can turn a cracking day on the water into a frustrating start. Knowing how to inflate boat tubes properly means more than getting them firm enough to sit on. Correct pressure helps the tube track better, protects its seams and cover, and gives riders a more predictable tow behind the boat.
The good news is that it is straightforward once you know what to look for. The key is using the right pump, following the manufacturer’s pressure recommendation and checking the tube again once it has warmed up in the sun.
Start with the tube’s pressure rating
Every inflatable tow tube should have a recommended inflation pressure in its manual, near the valve, or on a label attached to the tube. That number is the one to follow, even if a mate says they always pump theirs rock hard.
Towable tubes usually run at very low pressure compared with car tyres. Many models sit around 1 to 2 PSI, but this varies by design, size and manufacturer. A one-person donut, a deck-style tube and a large multi-rider lounge can all have different requirements. Guessing is where people run into trouble.
Too little air leaves the tube soft and saggy. It can drag through the water, pull poorly, feel unstable for riders and put extra strain on the cover. Too much air can stress the bladder, seams and valves, particularly when the tube heats up in direct Australian sun. An overinflated tube is far more likely to split when it hits chop or gets bounced around in the boat.
If you cannot find the pressure label or manual, avoid treating firmness as an exact substitute for a PSI reading. Inflate slowly until the tube has shape and support, then check with a low-pressure gauge. If you are still unsure, get advice before towing it.
What you need to inflate a tow tube
A purpose-built electric towable pump is the easiest option for most boaters. Look for a pump designed for high-volume, low-pressure inflatables, ideally with a gauge or an automatic shut-off feature. It will fill a tube much faster than a hand pump and saves your energy for the water.
You will also need the correct valve adaptor. Most towables use a Boston-style valve or similar large threaded valve, while some pumps include a selection of fittings. The adaptor should sit snugly in the opening. If it is loose, air escapes as quickly as the pump supplies it.
A handheld low-pressure gauge is worth having in the boat kit, especially if your pump does not display PSI accurately. The pressure range is so low that a standard tyre gauge may not give a useful reading. Keep the tube manual, pump adaptors, gauge and a repair kit together so nothing goes missing before a weekend away.
How to inflate boat tubes step by step
Choose a flat, clear area near the boat or ute, away from sharp stones, gravel and hot bitumen. Unfold the tube fully and make sure its cover is sitting evenly around the bladder. A twisted cover can make the tube look misshapen and can create rubbing points once it is on the water.
Open and inspect the valve
Remove the valve cap and check that the valve itself is clean, free of sand and properly seated. On a threaded Boston valve, the inner section should generally remain screwed in while you inflate through the larger opening. The cap goes back on once inflation is complete.
Check the area around the valve for cracks, loose stitching or obvious wear. It takes only a moment, and it is much better to spot an issue at the ramp than after the tube has drifted from the boat with a slow leak.
Inflate in short bursts
Fit the adaptor securely, switch on the pump and keep an eye on the tube as it takes shape. Do not walk away while it is inflating. High-volume pumps can fill smaller tubes quickly, and a tube can move or roll as the air chambers expand.
If your towable has separate air chambers, inflate each one according to the manufacturer’s instructions. Fill them evenly rather than completely inflating one side first. Balanced chambers help the tube hold its intended shape and spread load more evenly across the cover.
As the tube nears its recommended PSI, slow down and check the pressure with your gauge. The tube should look full and properly formed, but it should not feel like a drum that cannot give at all. The correct PSI matters more than the old hand-test method.
Seal the valve and check the cover
Turn off the pump, remove the adaptor promptly and close the valve cap tightly. Listen for escaping air. A short hiss during removal is normal, but ongoing hissing usually means the valve is not sealed, the inner piece is loose or debris is caught in it.
Run your hand around the tube and cover. Make sure no part of the bladder is pinched, bulging through an opening or sitting unevenly under the fabric. Check that handles, tow points and stitched sections are intact. The tow point needs particular attention because it carries the load every time the boat accelerates.
Allow for heat before you hit the water
Air expands as it warms. That matters on a hot Australian summer day, when a tube inflated in the cool morning can become noticeably harder after sitting in the sun on the deck, pontoon or beach.
A smart approach is to inflate the tube to its recommended pressure shortly before use, then reassess it after it has been sitting in the sun. If it feels excessively hard or your gauge shows it has gone beyond the stated limit, release a small amount of air. Do this gradually and recheck rather than dumping too much pressure at once.
The reverse is true if you inflate the tube on a scorching afternoon and use it in much cooler water. It may feel softer once it hits the lake or river. Check it after a few minutes on the water if the ride feels sluggish or the tube is not holding its shape.
Common inflation mistakes that shorten tube life
The biggest mistake is overinflation. More air does not make a tow tube safer, faster or more fun. It simply increases the chance of damaged seams and a blown bladder, especially with heavier riders or rough water.
Another common issue is using the wrong pump. A high-pressure compressor intended for tyres can overinflate a towable in seconds if it is not carefully controlled. A low-pressure, high-volume pump is the right tool for the job. If you use a battery-powered pump, start with a fully charged battery or keep the engine running safely as required by the pump instructions, so it does not cut out halfway through.
Avoid dragging an inflated tube across the ramp, sand or rough grass. The outer cover is tough, but it is not indestructible. Lift it with a second person where possible, or carry it by the designated handles. Never use the tow rope or tow point as a carrying handle.
Finally, do not leave the tube inflated to maximum pressure for days in full sun. For storage, clean and dry it completely, let out the air and fold it loosely. Moisture trapped inside the cover can lead to mildew and unpleasant smells, while long-term tension is hard on the bladder and seams.
Get the tow setup right too
A perfectly inflated tube still needs the right rope and connection. Use a tow rope rated for the number of riders and attach it only to the tube’s designated tow point. Keep the rope clear of propellers, swimmers and sharp edges, and make sure riders wear correctly fitted, approved life jackets.
Before the first pull, check that the tube is clear of the boat, riders understand the hand signals and the driver knows the local rules. Build speed progressively rather than punching it straight out of the hole. A smoother start is easier on the riders, rope, tube and boat.
Good tube sessions are built on small checks done properly. Set the right pressure, keep an eye on changing temperatures and inspect your gear before each tow. Then you can spend less time wrestling with valves at the ramp and more time enjoying the spray, the turns and the inevitable calls for one more lap.
