


How to Fit Ski Boots for Comfort and Control
19 July 2026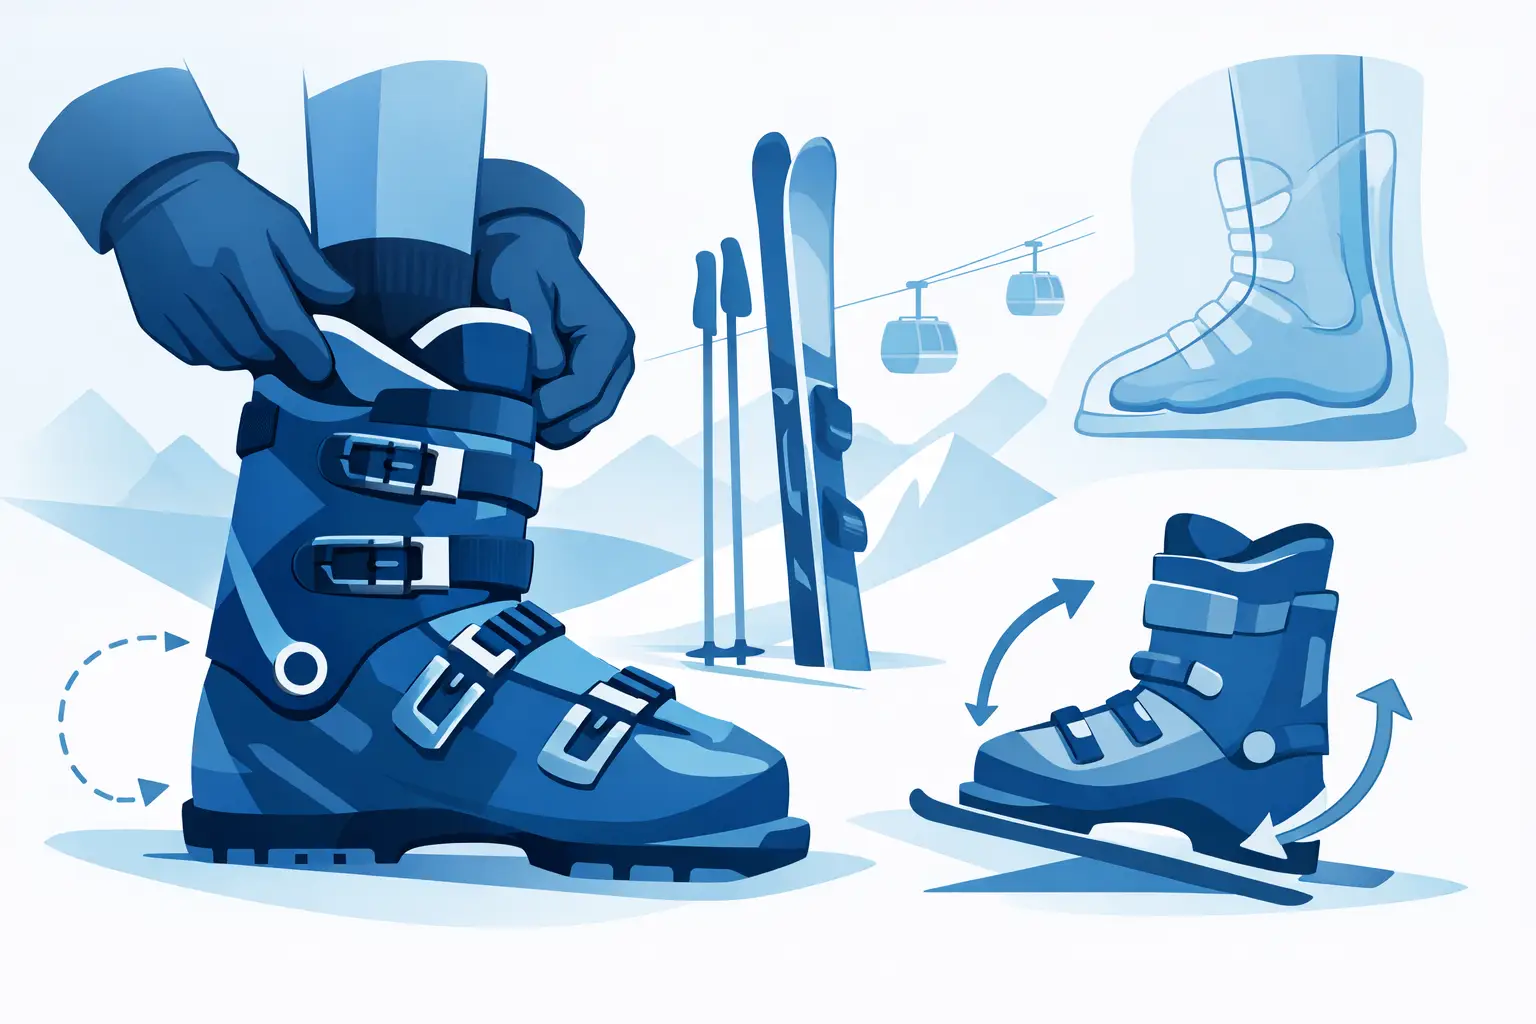
A ski boot that feels roomy and easy in the shop can become a sloppy, sore ride by lunchtime. The right fit should feel snug from the first buckle, then settle around your foot after a few runs. Knowing how to fit ski boots properly is one of the best things you can do for warmer feet, better balance and more confidence on the mountain.
Ski boots are not like runners. They are the direct connection between your body and your skis, so a little pressure in the right places is normal. Numb toes, burning arches and a heel that lifts every turn are not. Whether you are heading to Hotham, Falls Creek, Perisher or overseas, take the time to get the fit sorted before the snow starts falling.
Start With the Right Ski Sock
Wear one thin-to-medium ski sock when trying on boots. Thick socks might sound warmer, but they take up valuable space, restrict circulation and can create wrinkles that rub your shins or toes. A technical ski sock provides warmth without bulk and helps the boot work as it should.
Pull the sock smooth over your calf and avoid wearing two pairs. Double socks are a fast track to pressure points, sweaty feet and less control. If your feet run cold, a better-fitting boot, quality socks and good circulation will do more for comfort than stuffing extra layers inside.
How to Fit Ski Boots: The First Check
Put your foot into the shell with your heel pushed right back. Before doing up the buckles, tap the heel of the boot gently on the floor a couple of times. This seats your heel where it needs to be and stops you judging the fit with your foot slid forward.
With the boot upright and unbuckled, your toes should lightly brush the front of the liner. This can feel surprisingly short, especially if you are used to casual footwear. Now flex forward into a skiing stance, with your knees bent over your toes. Your toes should pull slightly away from the front or just feather the liner. That is the position you will spend most of the day in on snow.
If your toes are painfully curled, jammed hard against the end or cannot move at all when you flex, the boot is too short or too low in the toe box. If you can wiggle them freely with heaps of empty space ahead, it is likely too big.
Snug Is Good, Numb Is Not
A new ski boot liner is designed to pack out with use. In simple terms, the foam compresses and creates more room around your foot after several ski days. That means a boot that feels comfortably loose in-store will often become too roomy once it is broken in.
You want firm, even contact around your heel, ankle and lower leg. There may be pressure across the top of your foot or around the sides at first, but it should not be sharp, burning or painful. Give the boots at least 10 to 15 minutes on your feet before making a call. Stand, flex forward, walk carefully and pay attention to any hot spots.
Lock Your Heel Into Place
Heel hold is one of the clearest signs of a good ski boot fit. Flex forward a few times and notice whether your heel stays planted. A tiny amount of movement can be normal in a fresh liner, but your heel should not lift noticeably up and down inside the boot.
A lifting heel means you lose response when you pressure the ski. It can also cause rubbing and blisters around the back of the ankle. Avoid trying to fix a boot that is too big by cranking the buckles as tight as possible. Over-tightening can cut circulation and make your feet colder without properly securing the heel.
Instead, focus on a boot shape that suits your foot. Different models are built around different lasts, meaning their internal width, instep height and heel shape vary. A narrow foot may need a closer, lower-volume fit, while a wider foot may need more space through the forefoot. Size matters, but shape matters just as much.
Buckle Up in the Right Order
Ski boot buckles are there to hold the shell around your foot, not crush it. Start by doing up the two lower buckles lightly. They should be secure enough to close the shell, without squeezing across the top of your foot. Then set the upper cuff buckles and power strap so your lower leg feels supported.
The power strap should sit firmly around the top of the liner. It helps keep your shin connected to the boot when you flex forward. On most boots, the top cuff buckle can be a little firmer than the lower buckles, but every skier has a different comfort point.
Do not assume tighter means better. If your feet tingle, go pale, become cold quickly or feel pins and needles, ease off the buckles and reassess the fit. A well-fitted boot should feel precise without shutting down circulation.
Check Length, Width and Volume Separately
Many skiers make the mistake of sizing up because their foot feels cramped across the width. This usually creates a boot that is too long, which brings heel lift and less control. Length, width and internal volume are separate fit questions.
Length is about where your toes sit. Width is the space across the ball of your foot. Volume is the amount of room over your instep, around your ankle and through the lower leg. A boot can be the right length but too narrow, or the right width but too high over the instep.
This is where specialist advice pays off. A trained boot fitter can assess your foot shape, ankle movement, calf size and skiing goals, then point you towards suitable shells rather than simply handing you the next size up. At Mac’s, that specialist approach makes a real difference when you are choosing your first setup or replacing a boot that has never felt quite right.
Try a Shell Fit If You Want More Accuracy
A shell fit is a useful check, particularly for performance-focused skiers or anyone between sizes. Remove the liner from the boot shell, then slide your foot into the empty shell with your toes just touching the front. Look at the gap behind your heel.
A small, controlled gap generally indicates a precise fit, while a large gap suggests the shell may be too long. The ideal amount varies with your experience level, foot shape and appetite for a close fit. Beginners often appreciate a little more comfort, while advanced skiers may prefer a tighter, more responsive shell.
This test is best done with help from a boot fitter. It tells you about shell length, but it cannot diagnose every pressure point or replace time spent standing and flexing in the liner.
Know What Can Be Adjusted
Not every discomfort means you need a different boot. Modern ski boots can often be improved with heat moulding, custom footbeds, liner work and shell adjustments. These options are especially valuable if one foot is slightly larger, you have prominent ankle bones, high arches or a specific pressure point.
A supportive footbed can reduce foot movement inside the boot and improve comfort through the arch. Heat moulding can help liners conform around the heel and ankle. Shell work is more targeted and should be handled by someone who knows exactly where the pressure is coming from.
That said, modifications work best when the starting shell is fundamentally right. Do not buy a boot that is clearly too long, painfully narrow or the wrong shape because you hope it can be fixed later.
Fit for the Skier You Are Now
Your ideal fit depends on how and where you ski. A first-time skier spending relaxed days on green runs may prioritise easy entry, warmth and comfort. An experienced skier charging steeper terrain will often want a closer, stiffer fit for quicker energy transfer.
Flex rating also plays a part. Softer boots are generally more forgiving and easier to flex, while stiffer boots give stronger skiers more support at speed. But a stiff boot that does not fit properly is still a bad boot. Get the shell shape and size right first, then choose a flex that matches your weight, ability and skiing style.
Women, junior skiers and people with lower or wider calves should also look for boots built with an appropriate cuff shape. A cuff that digs into your calf can ruin an otherwise good fit, and it is a common issue that should not be ignored.
Give Your New Boots Time to Settle
Wear new boots at home for short sessions before your first trip, using your ski socks and a clean, dry floor. Practise buckling them, flex forward and let your feet identify any obvious pressure points. Do not walk around the house for hours, as ski boots are built for skiing rather than cruising down the footpath.
On your first day, start with buckles moderately firm and make small adjustments after a run or two. Your liners will warm up and your feet may settle differently once you are actually skiing. If a problem persists, get it checked early rather than suffering through the whole trip.
The best ski boot is not necessarily the softest, cheapest or flashiest model on the wall. It is the one that keeps your heel secure, your feet comfortable and your skis responding exactly when you ask them to. Get that fit right, and every run feels better from the first chairlift to the last lap.
